

Recently I was lucky enough to be given a box of parts. The box included mainly a half-alive quadcopter that I was told I could try to reassemble and fly if possible. This is a perfect opportunity to get ot know the area and finally fly some FPV, which I’ve been aching to do for quite a while. FPV stand for “First Person View” and is probably the most exciting way to experience flying a drone.
I took it apart, reassembled, configured, connected with a radio and googles and started learning to fly it. There is so much to learn not only about quadcopters themselves, but the whole spectrum of solutions used to enable them: be it radio communication, video transmission, control systems, batteries, motors, etc.
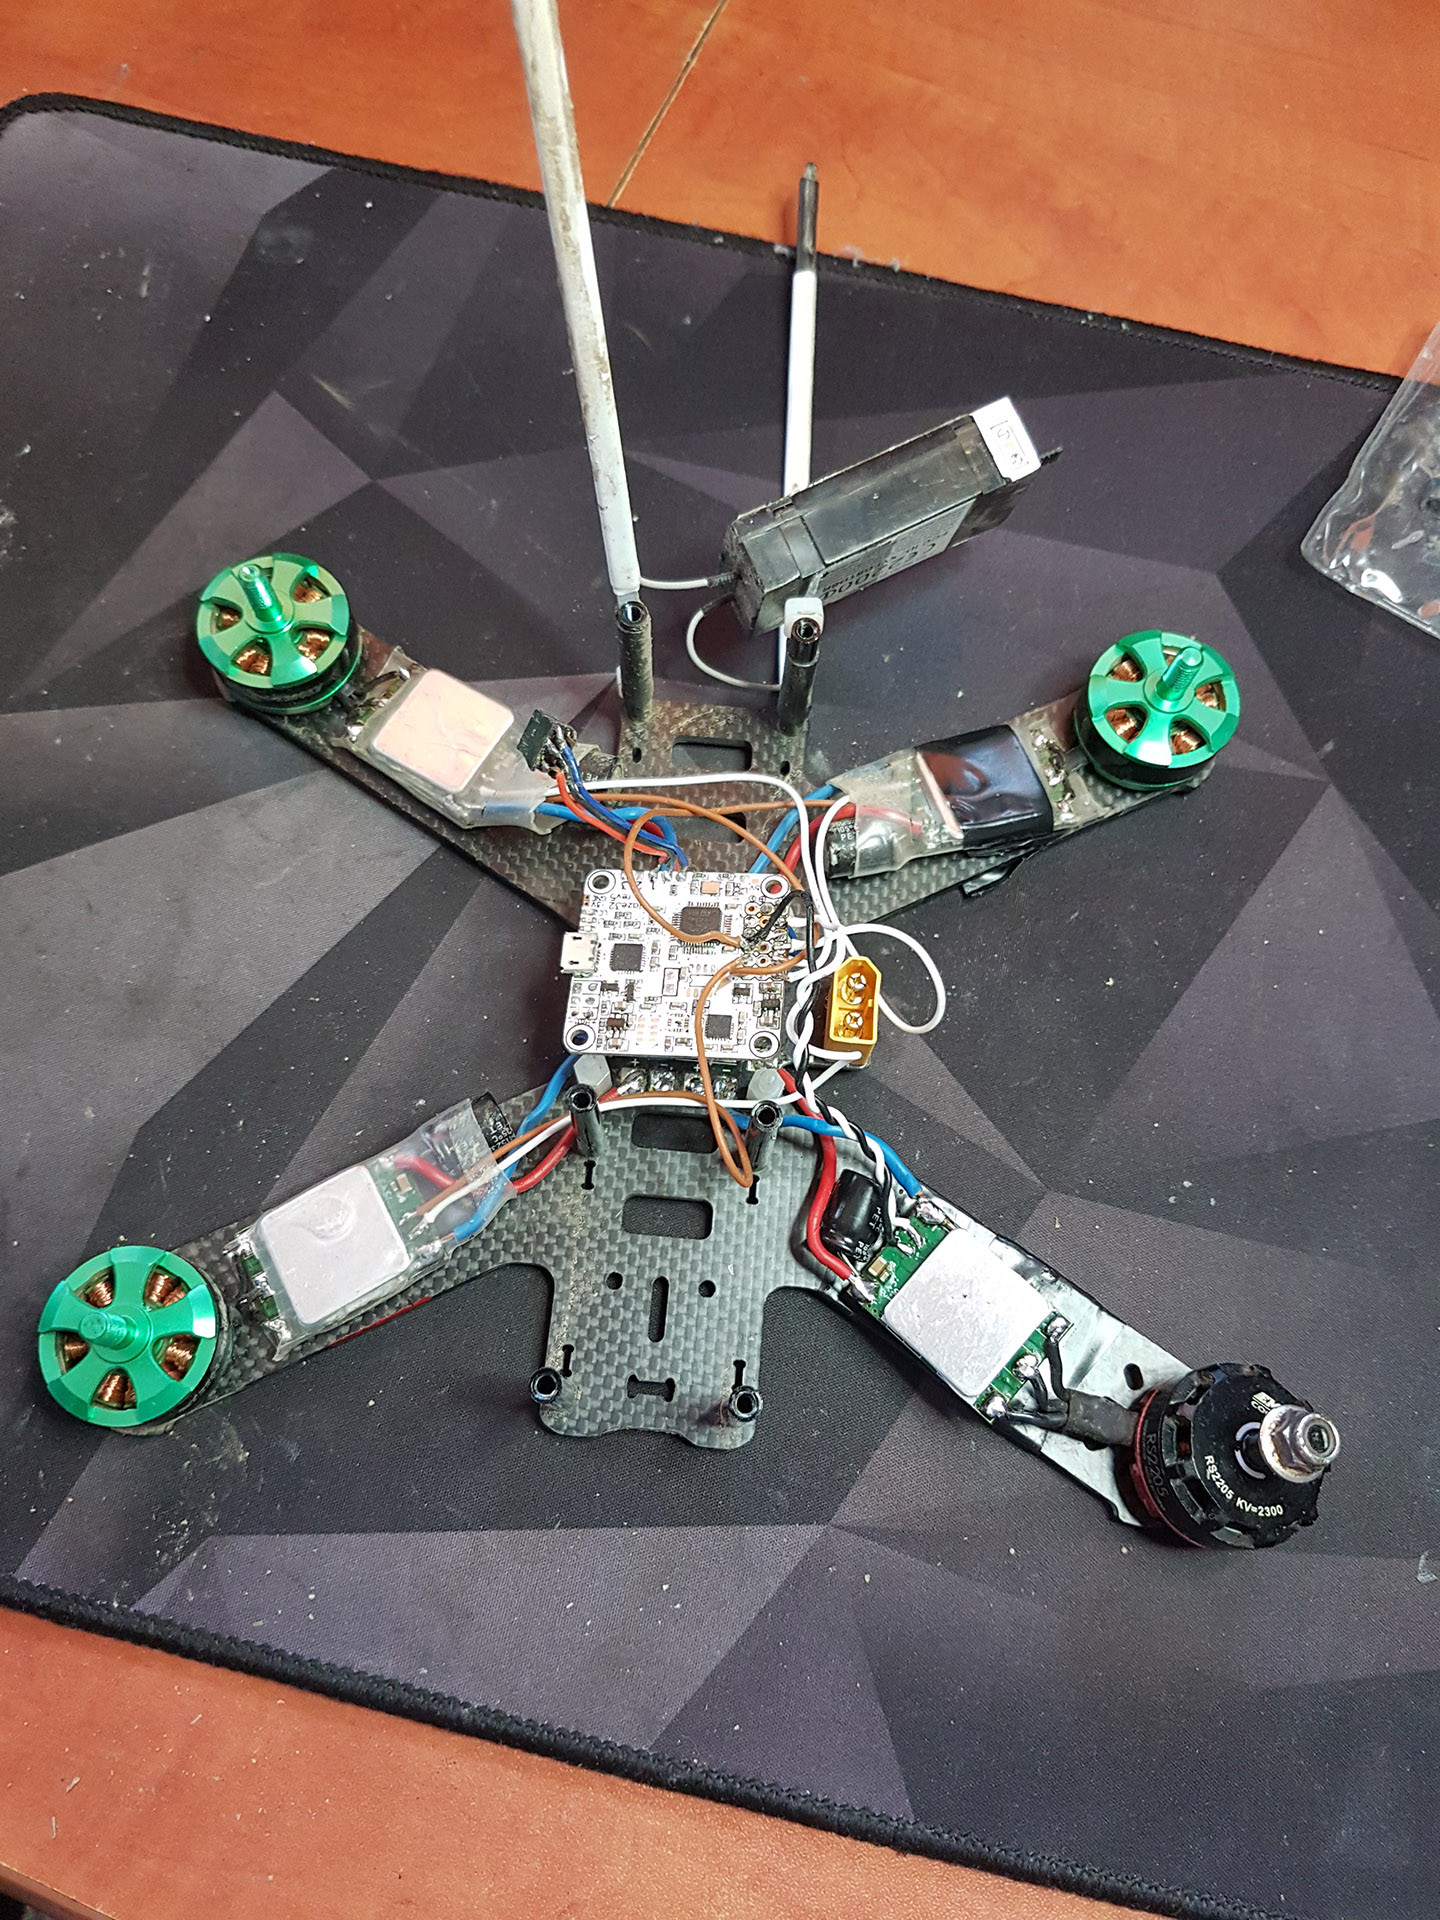
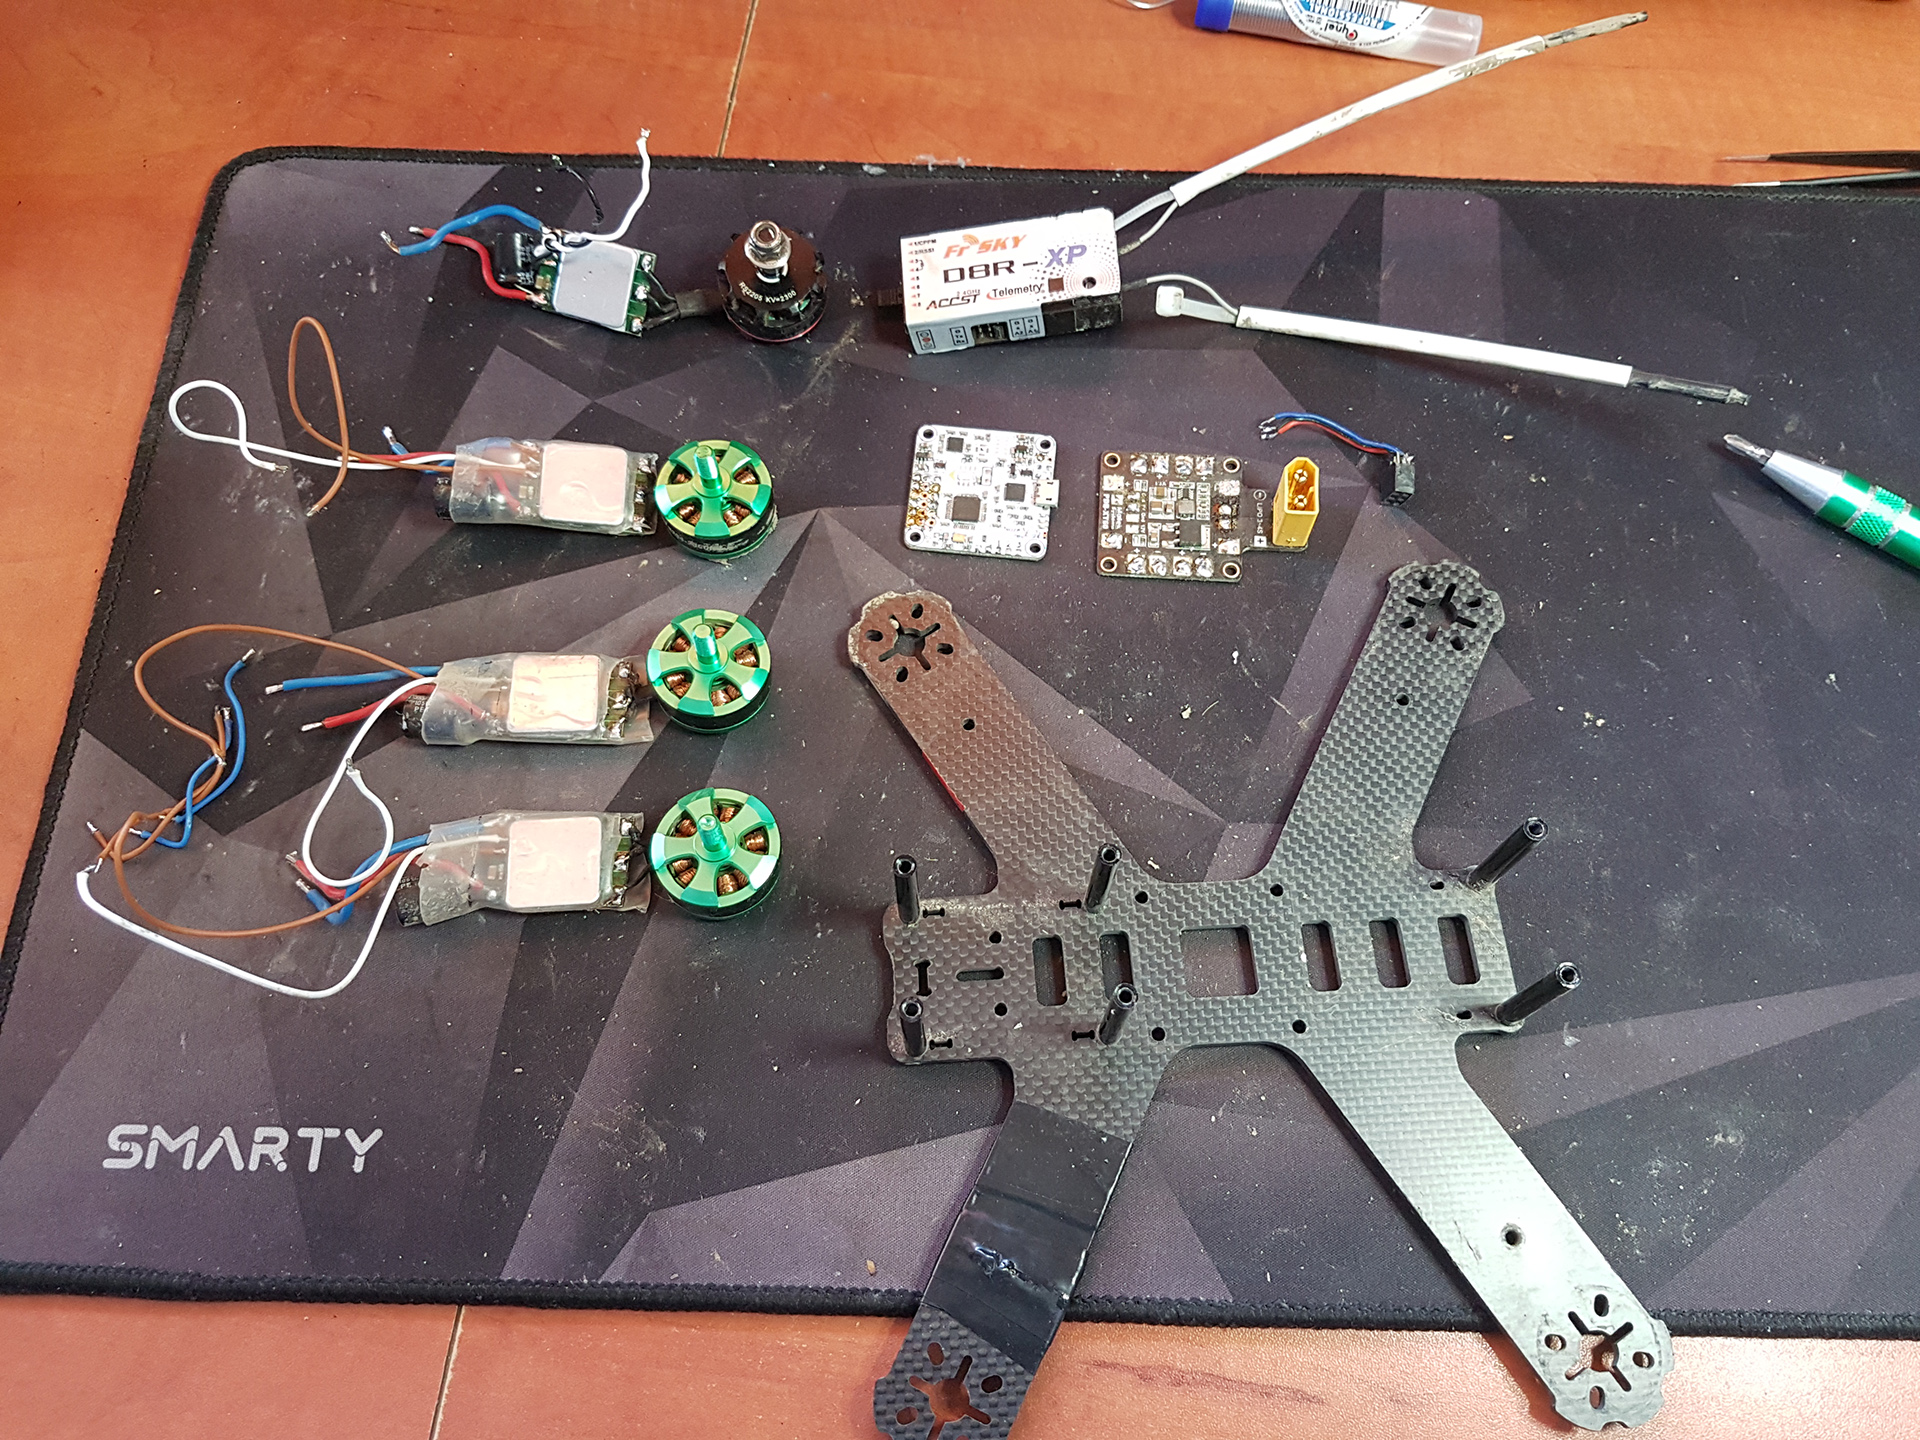
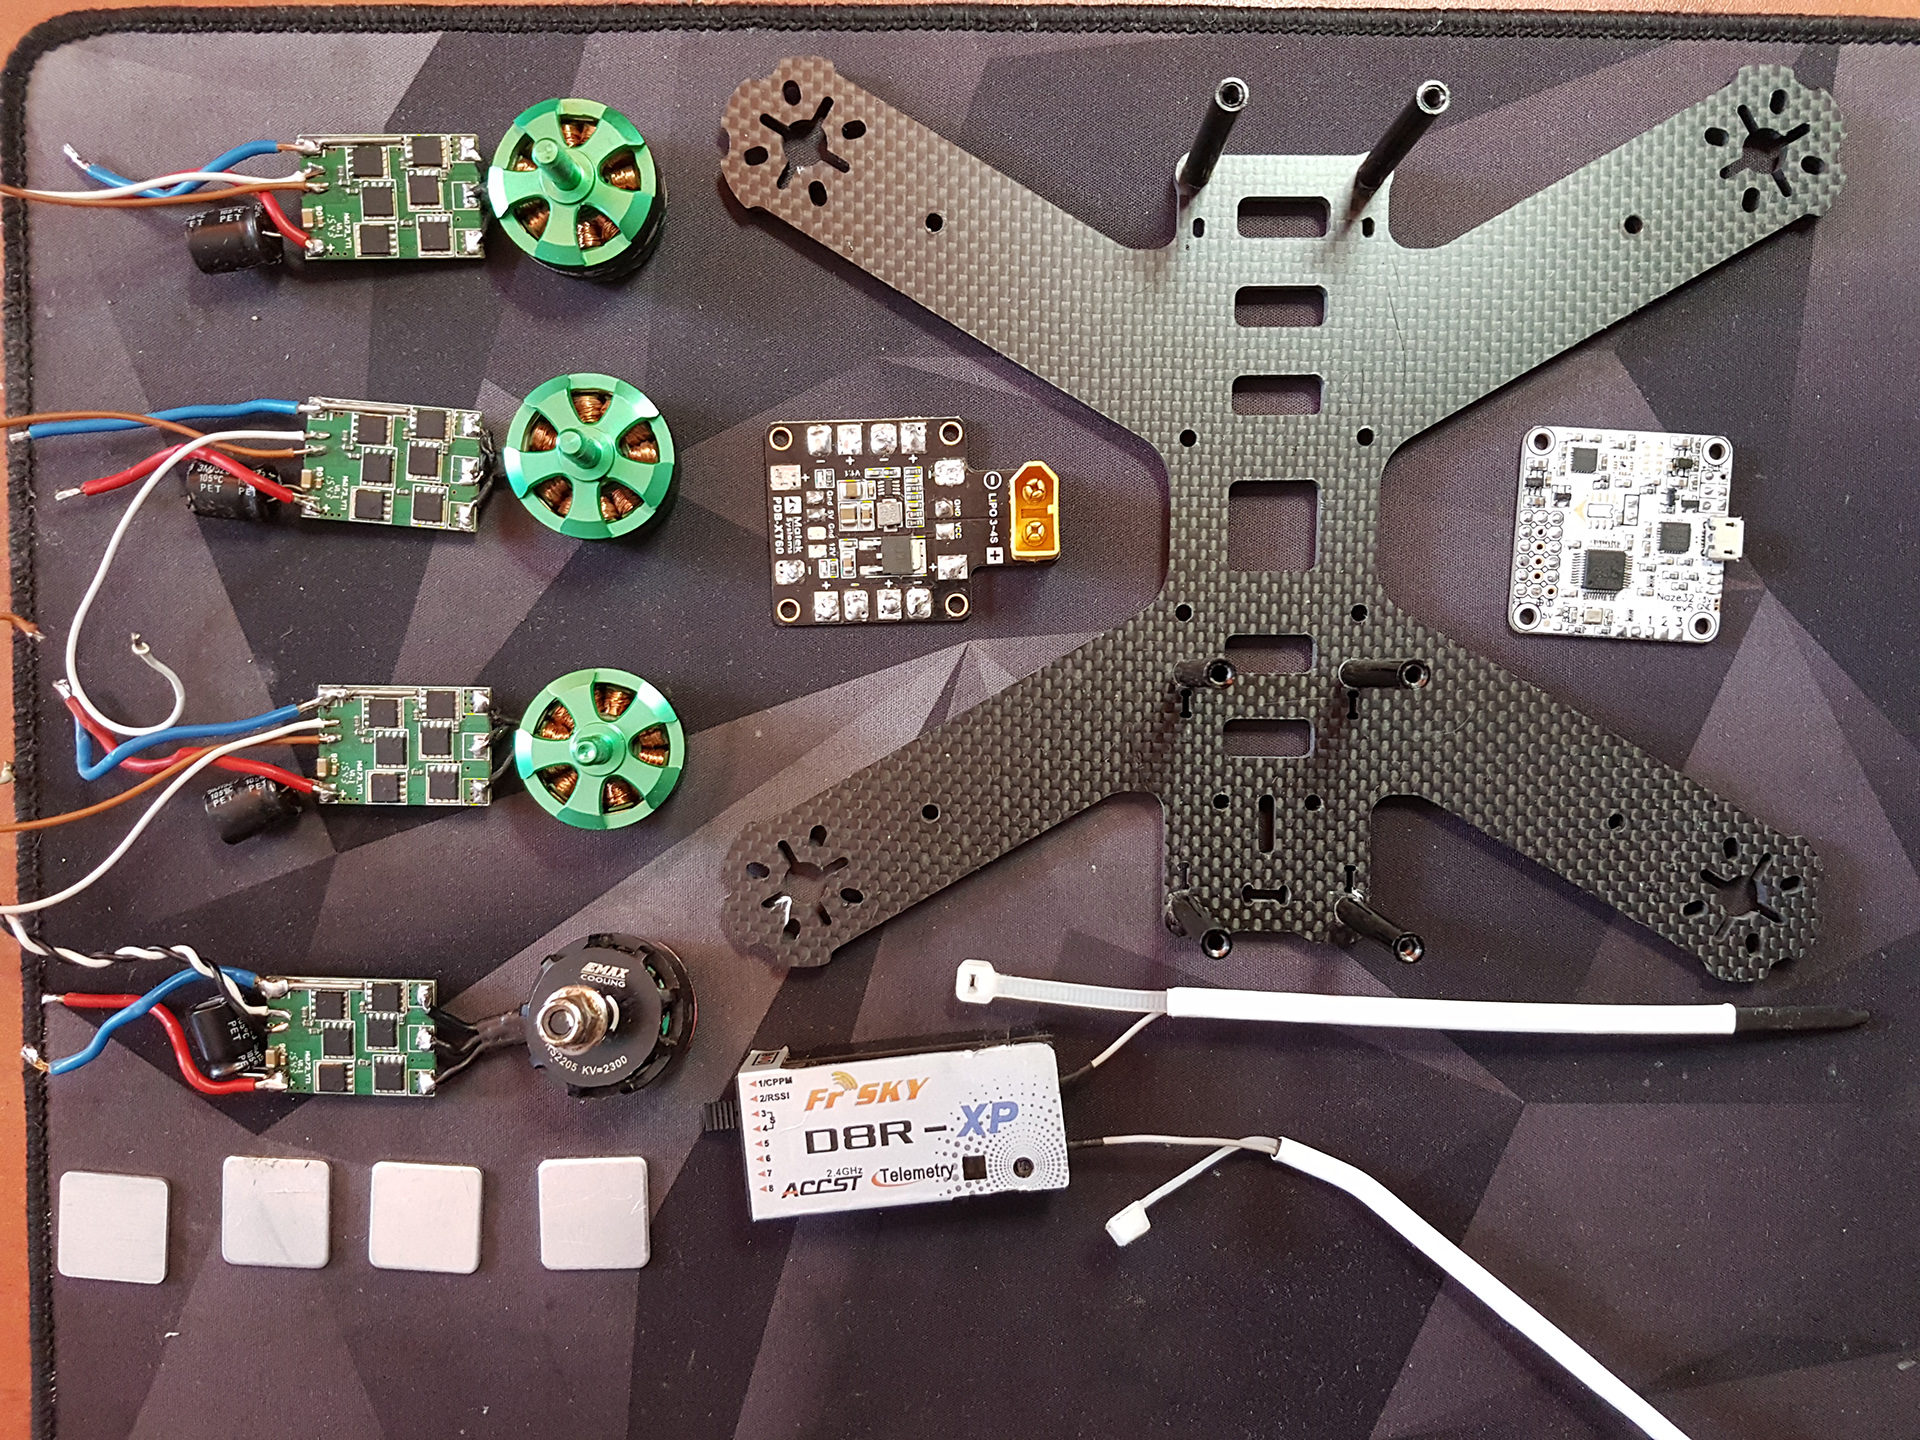
Ok, let’s dig in first and we’ll see what’s what. In the package the main pieces were:
- 5-inch carbon frame
- brushless motors
- broshless motors’ drivers
- ‘power distribution board’
- ‘flight controller board’
- radio receiver
- video transmitter
- camera module
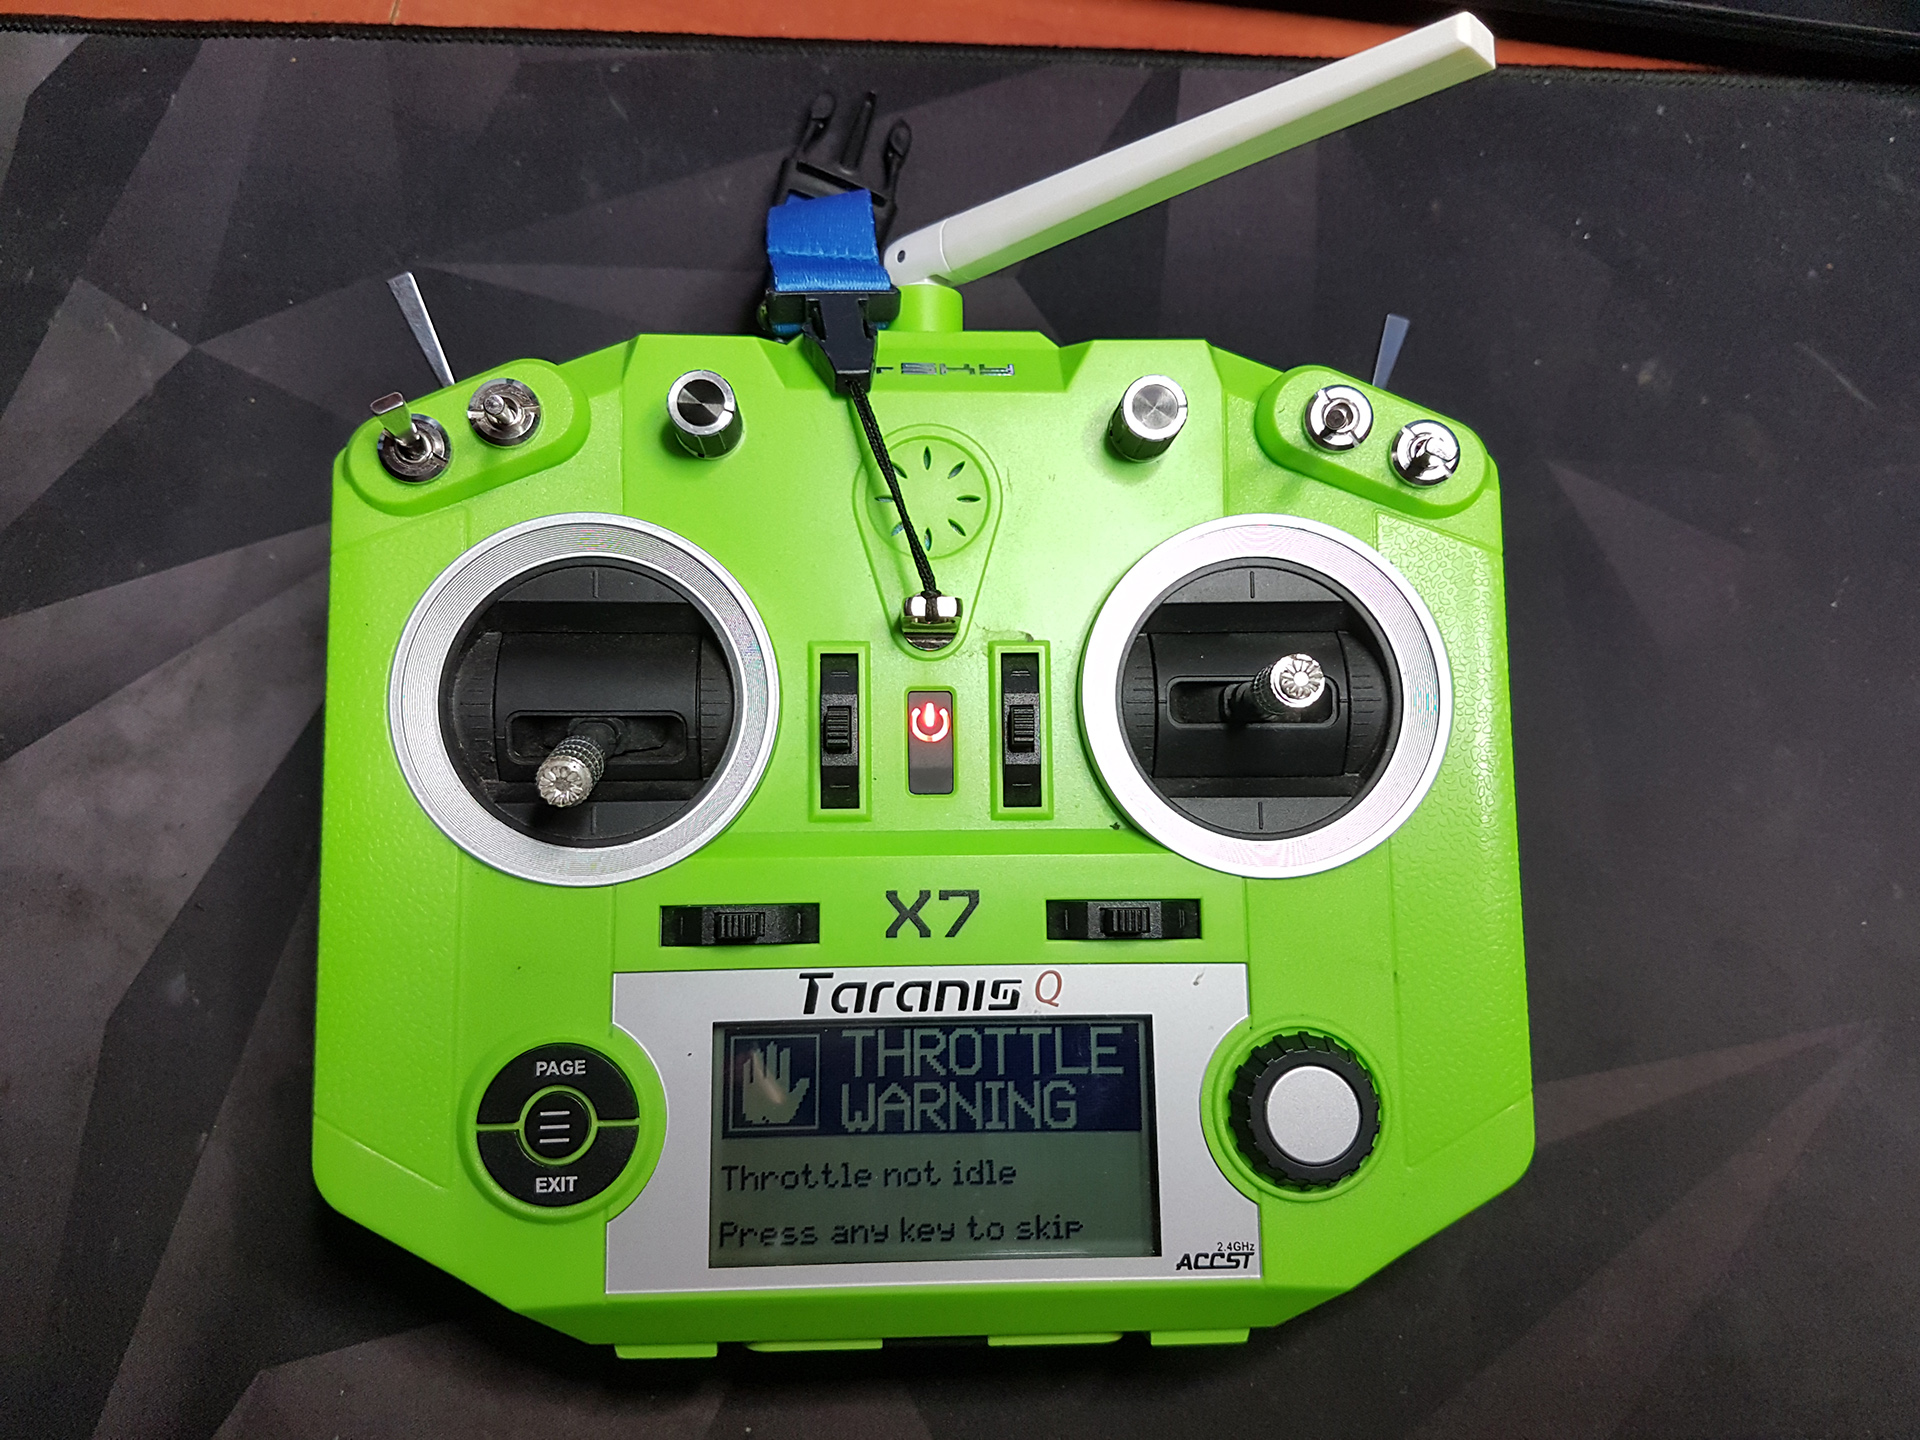
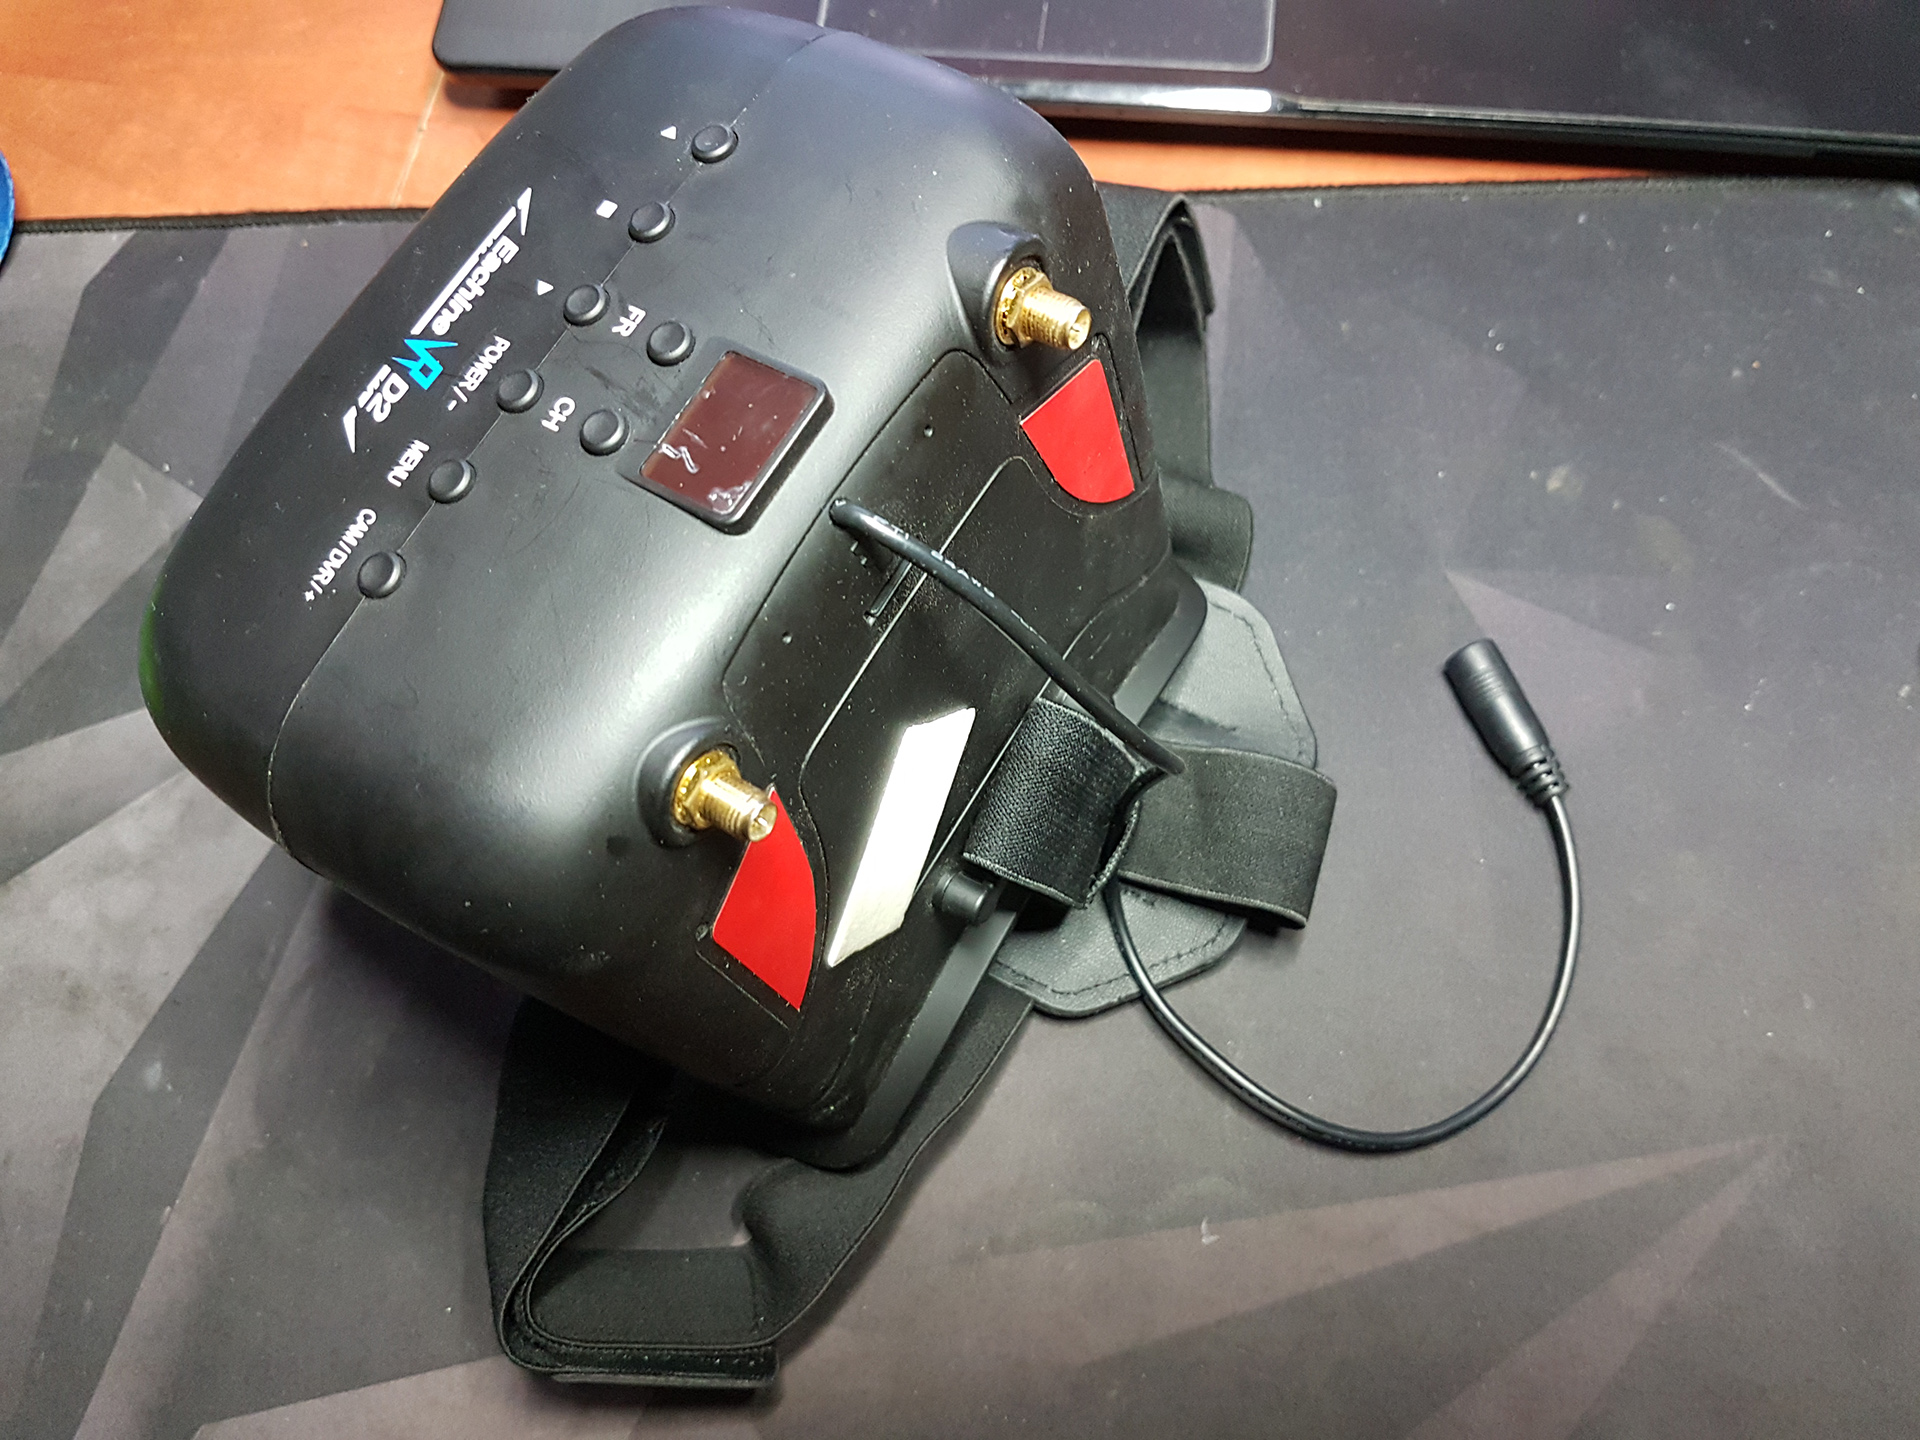
I also got a Radio Controller and FPV Goggles.
I kinda knew what things were in general, so I felt safe to completely disassemble everything, clean it thoroughly and put it back together. Also I made a lot of reference photos.
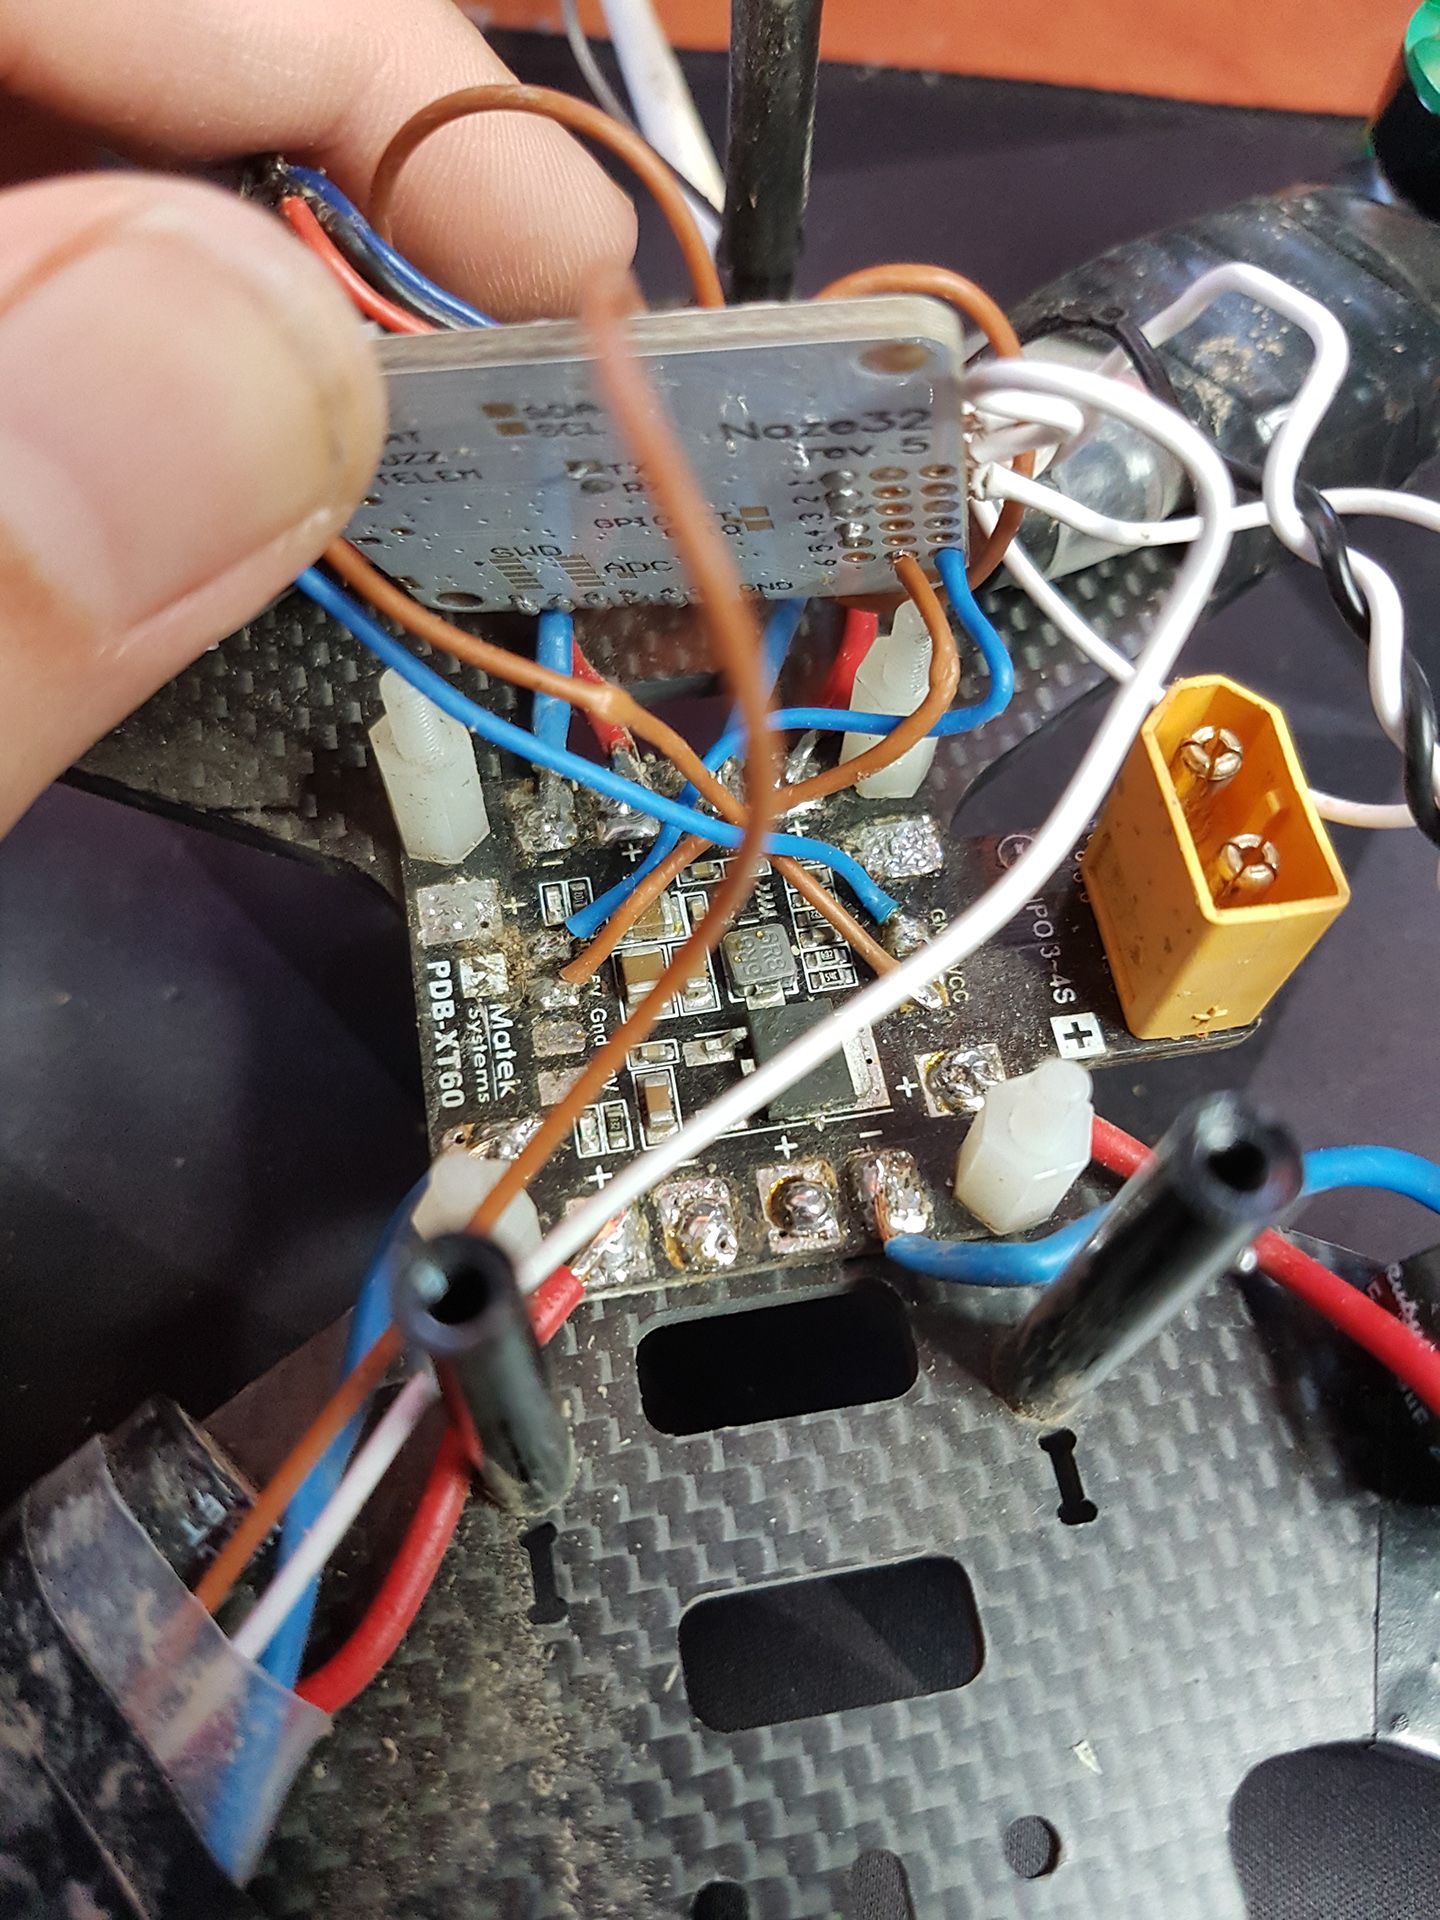
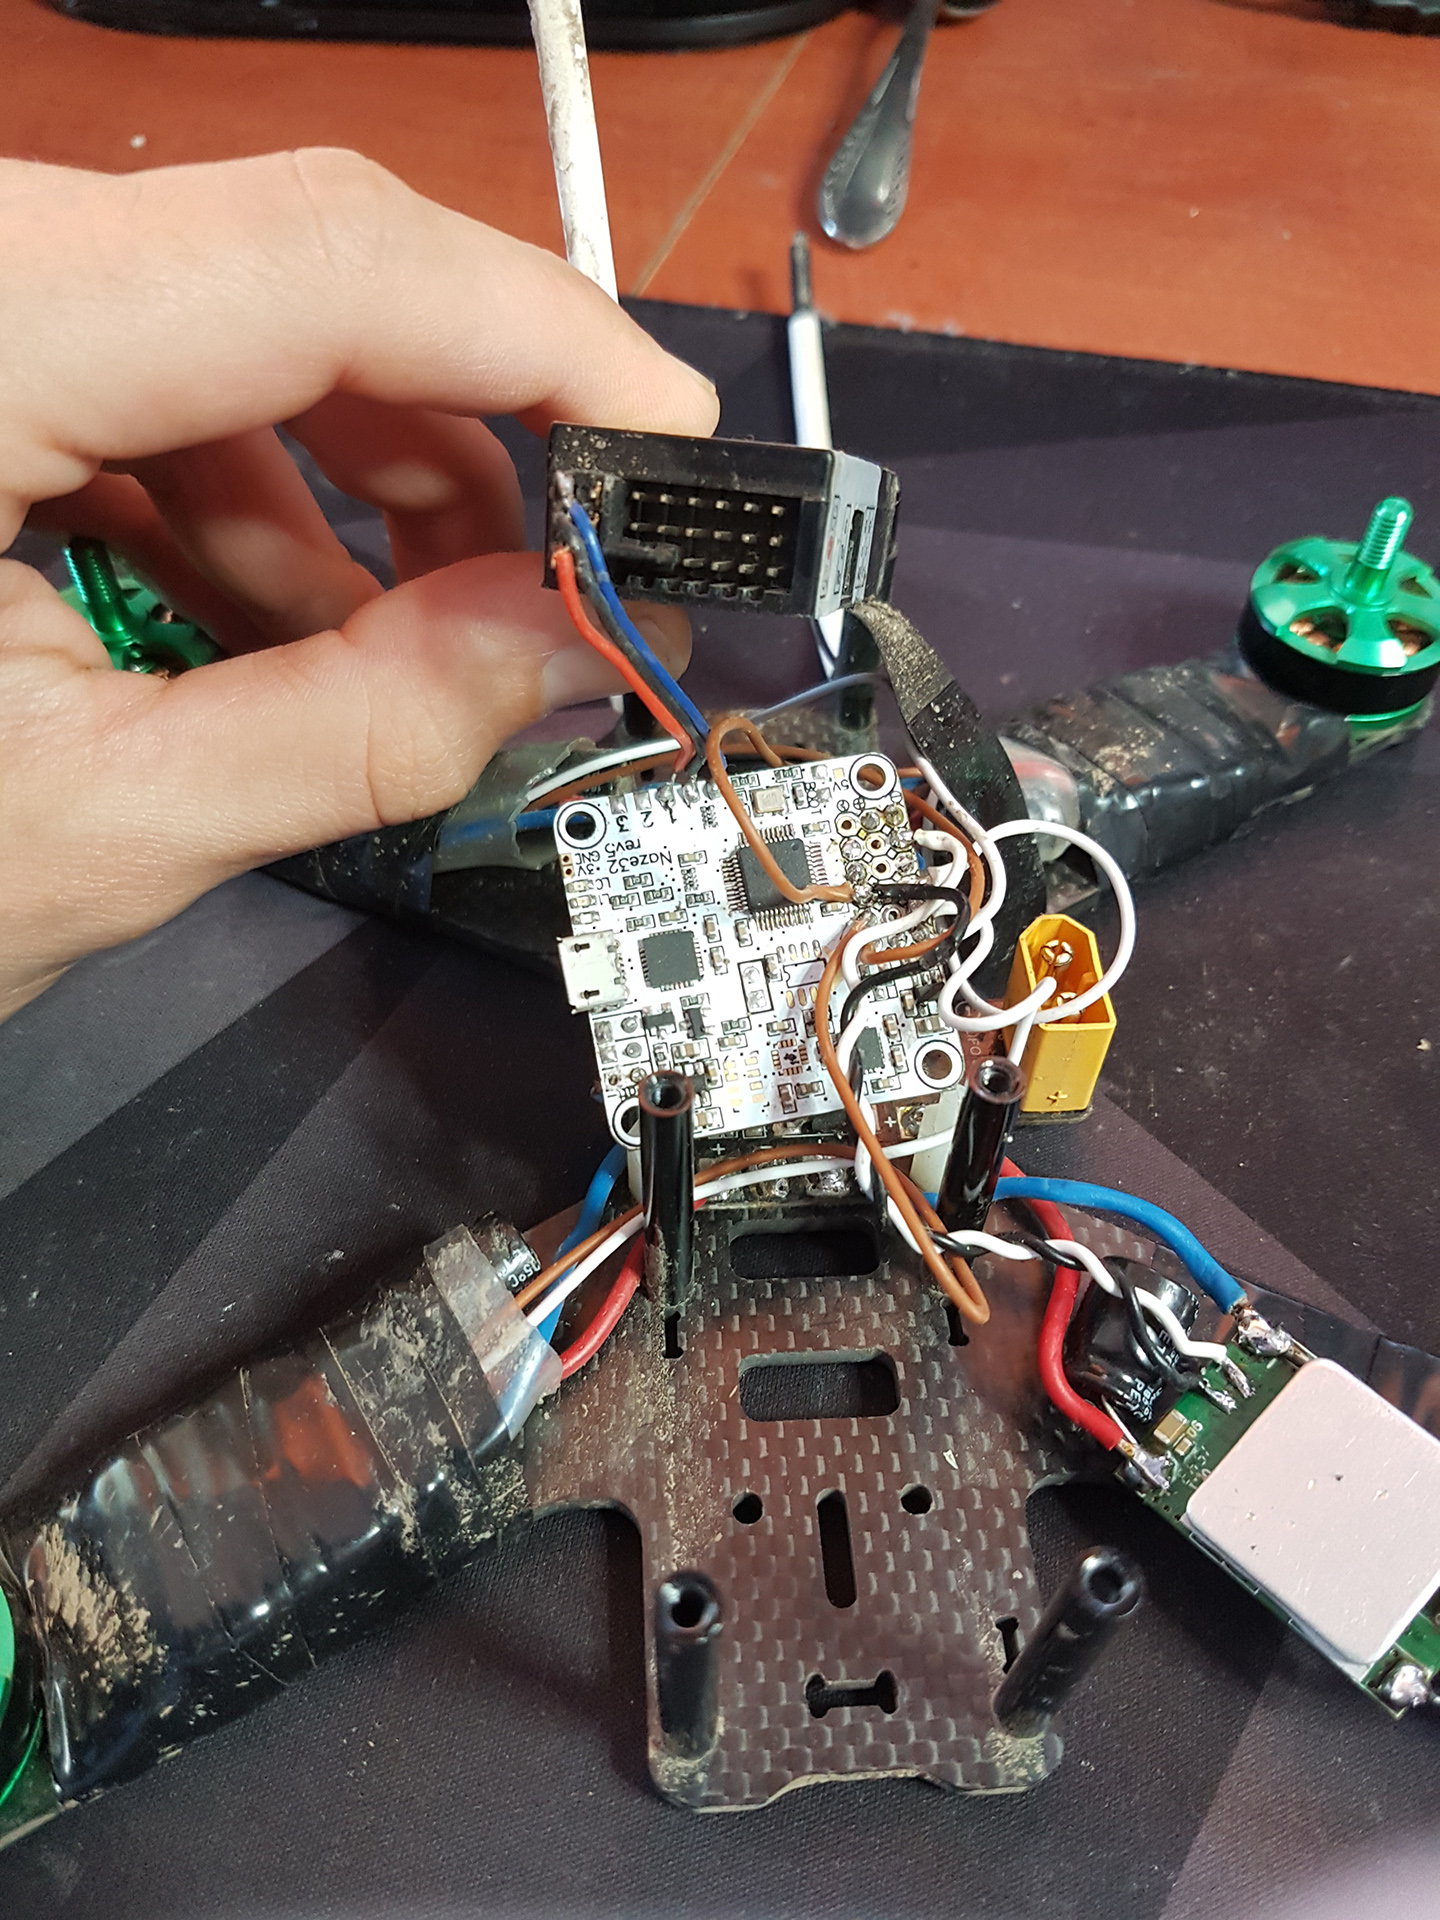
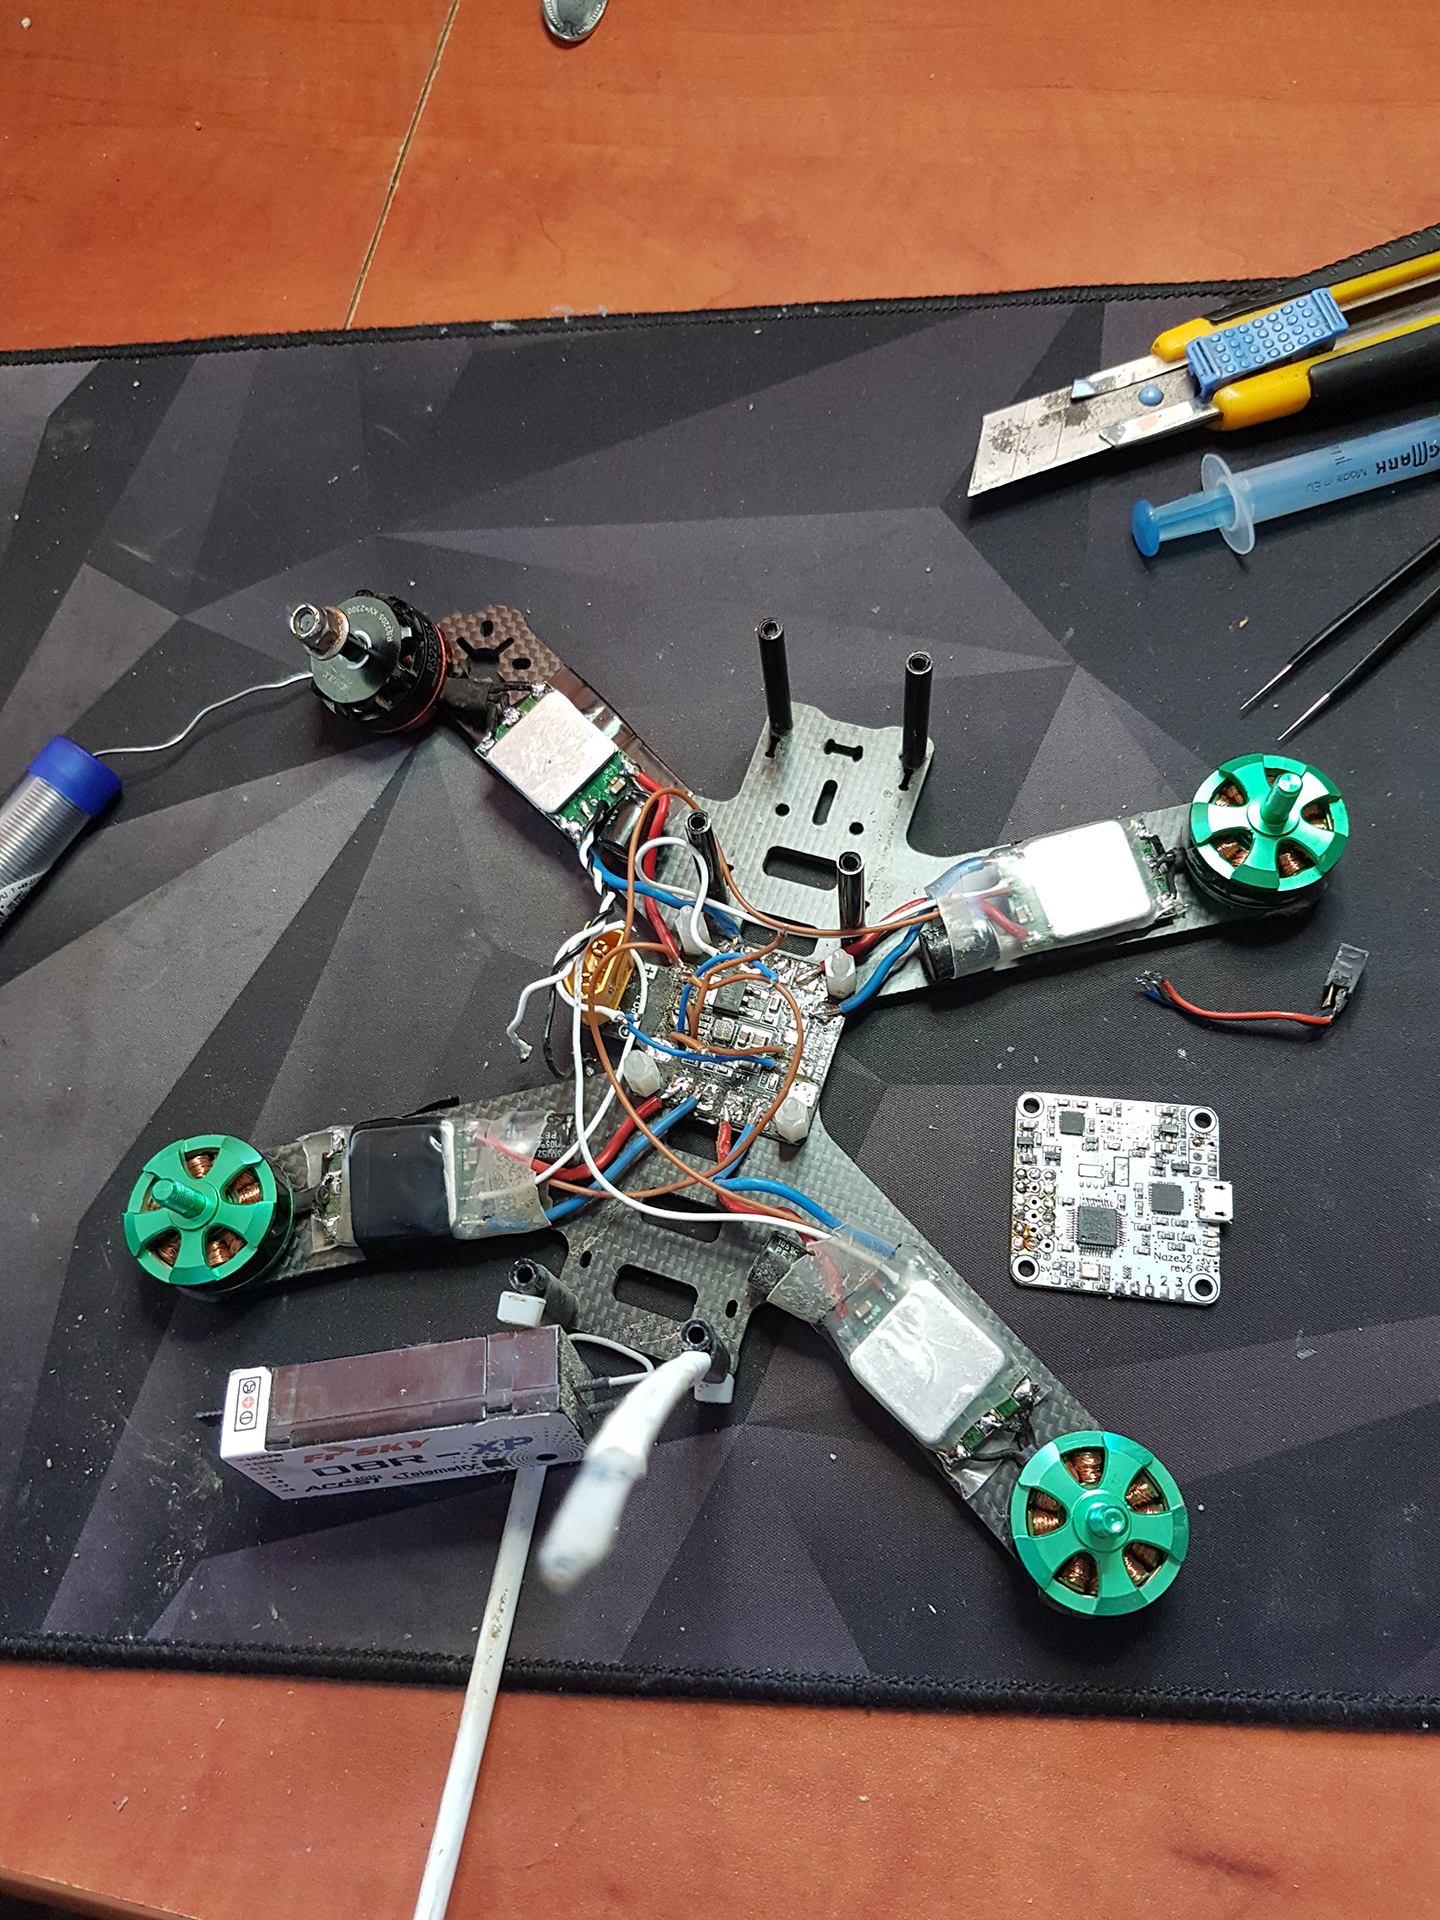
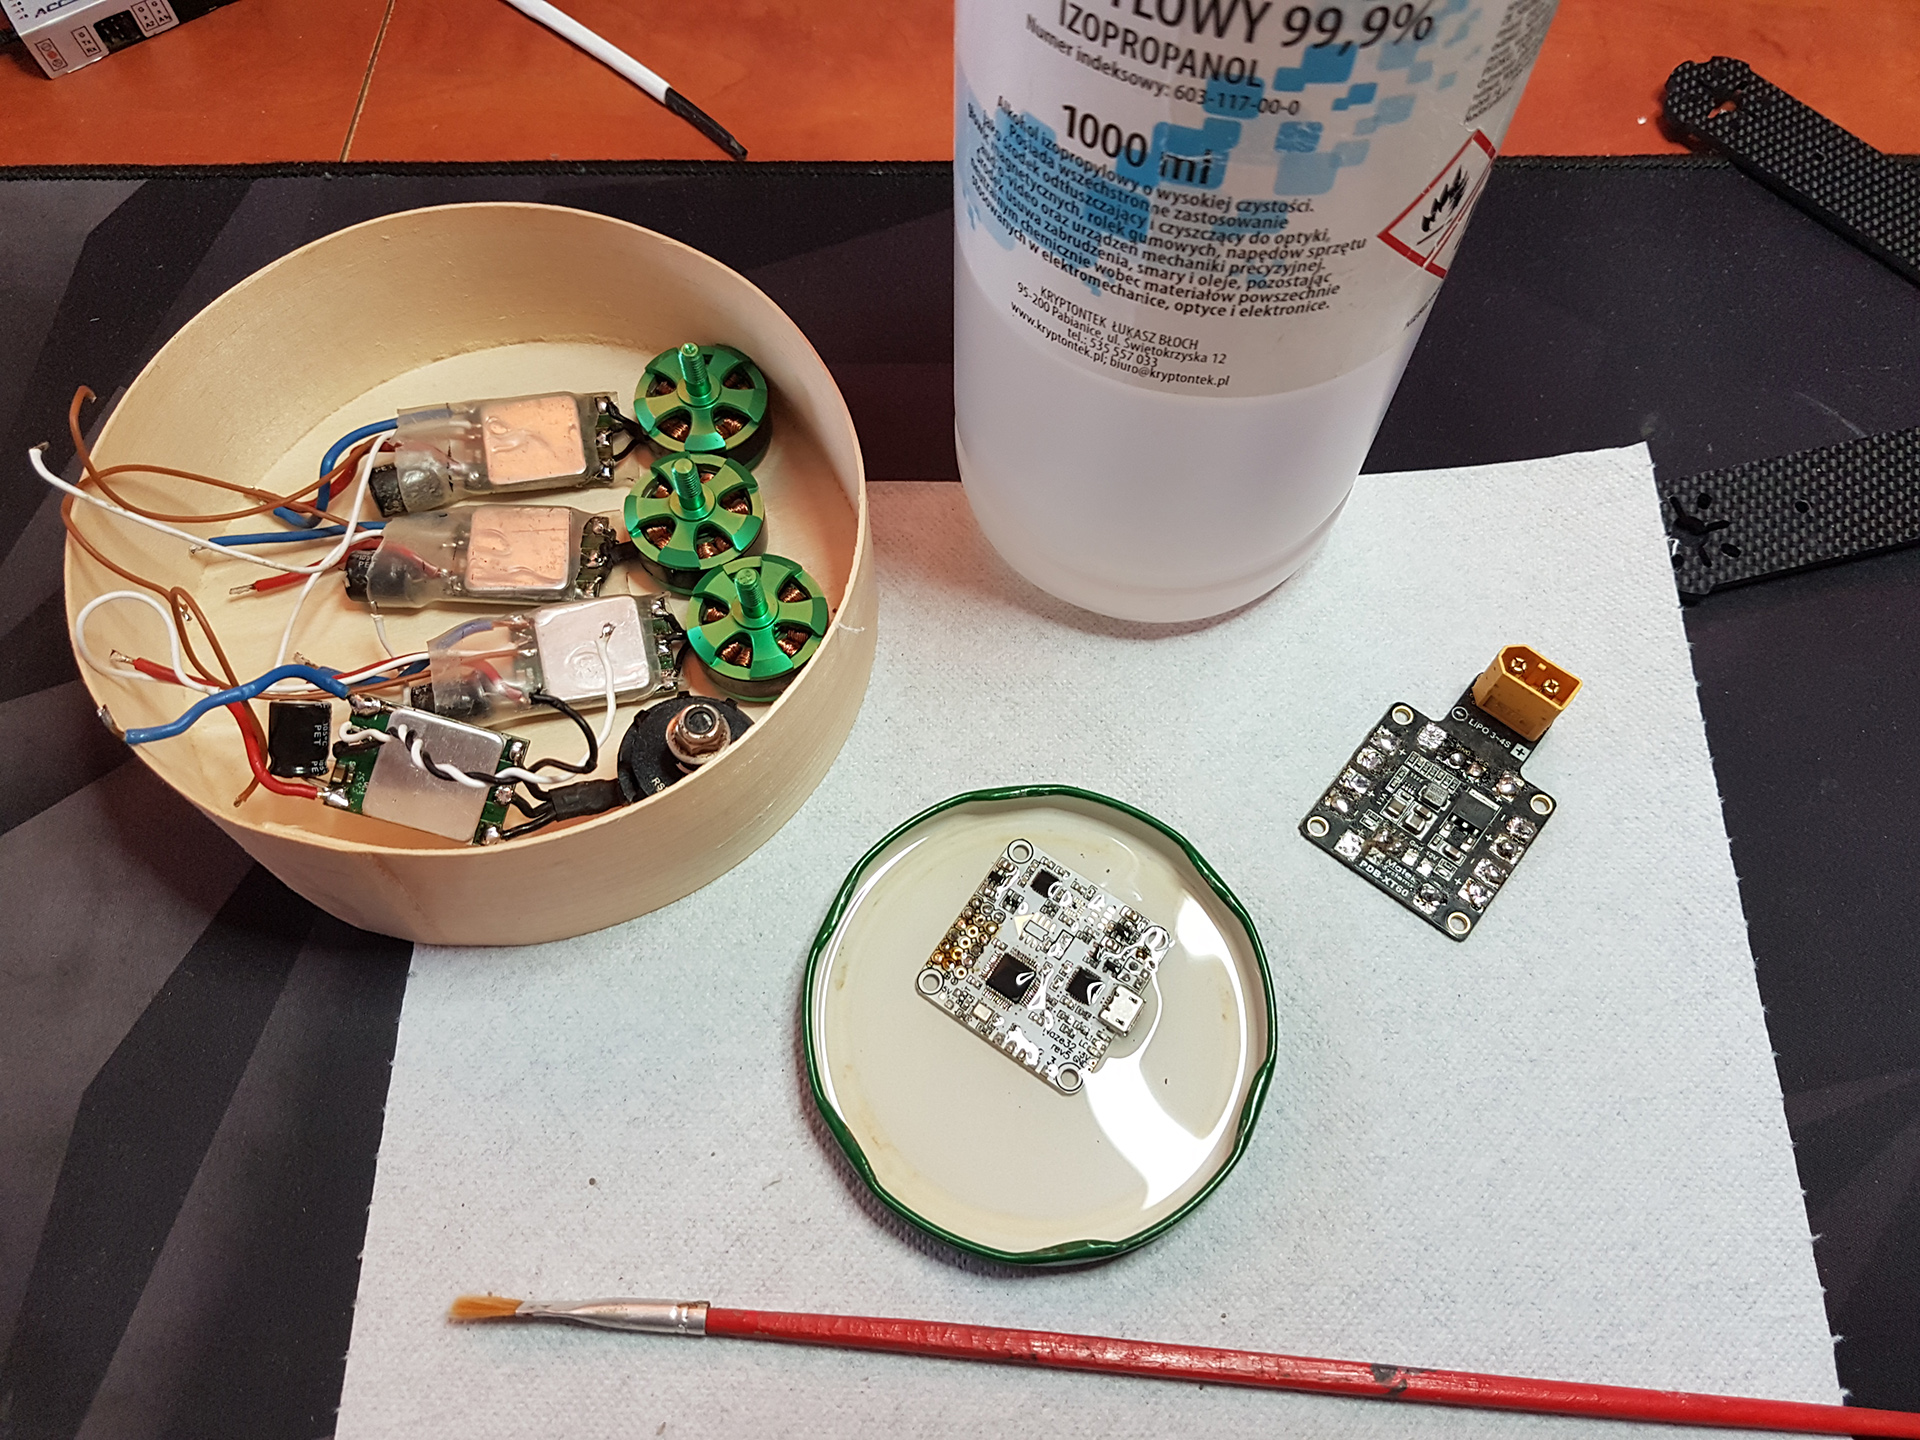
During this process I found out what interface do things have, what voltages and buses are connected and how the “data flow” and “power flow” work in the circuit.
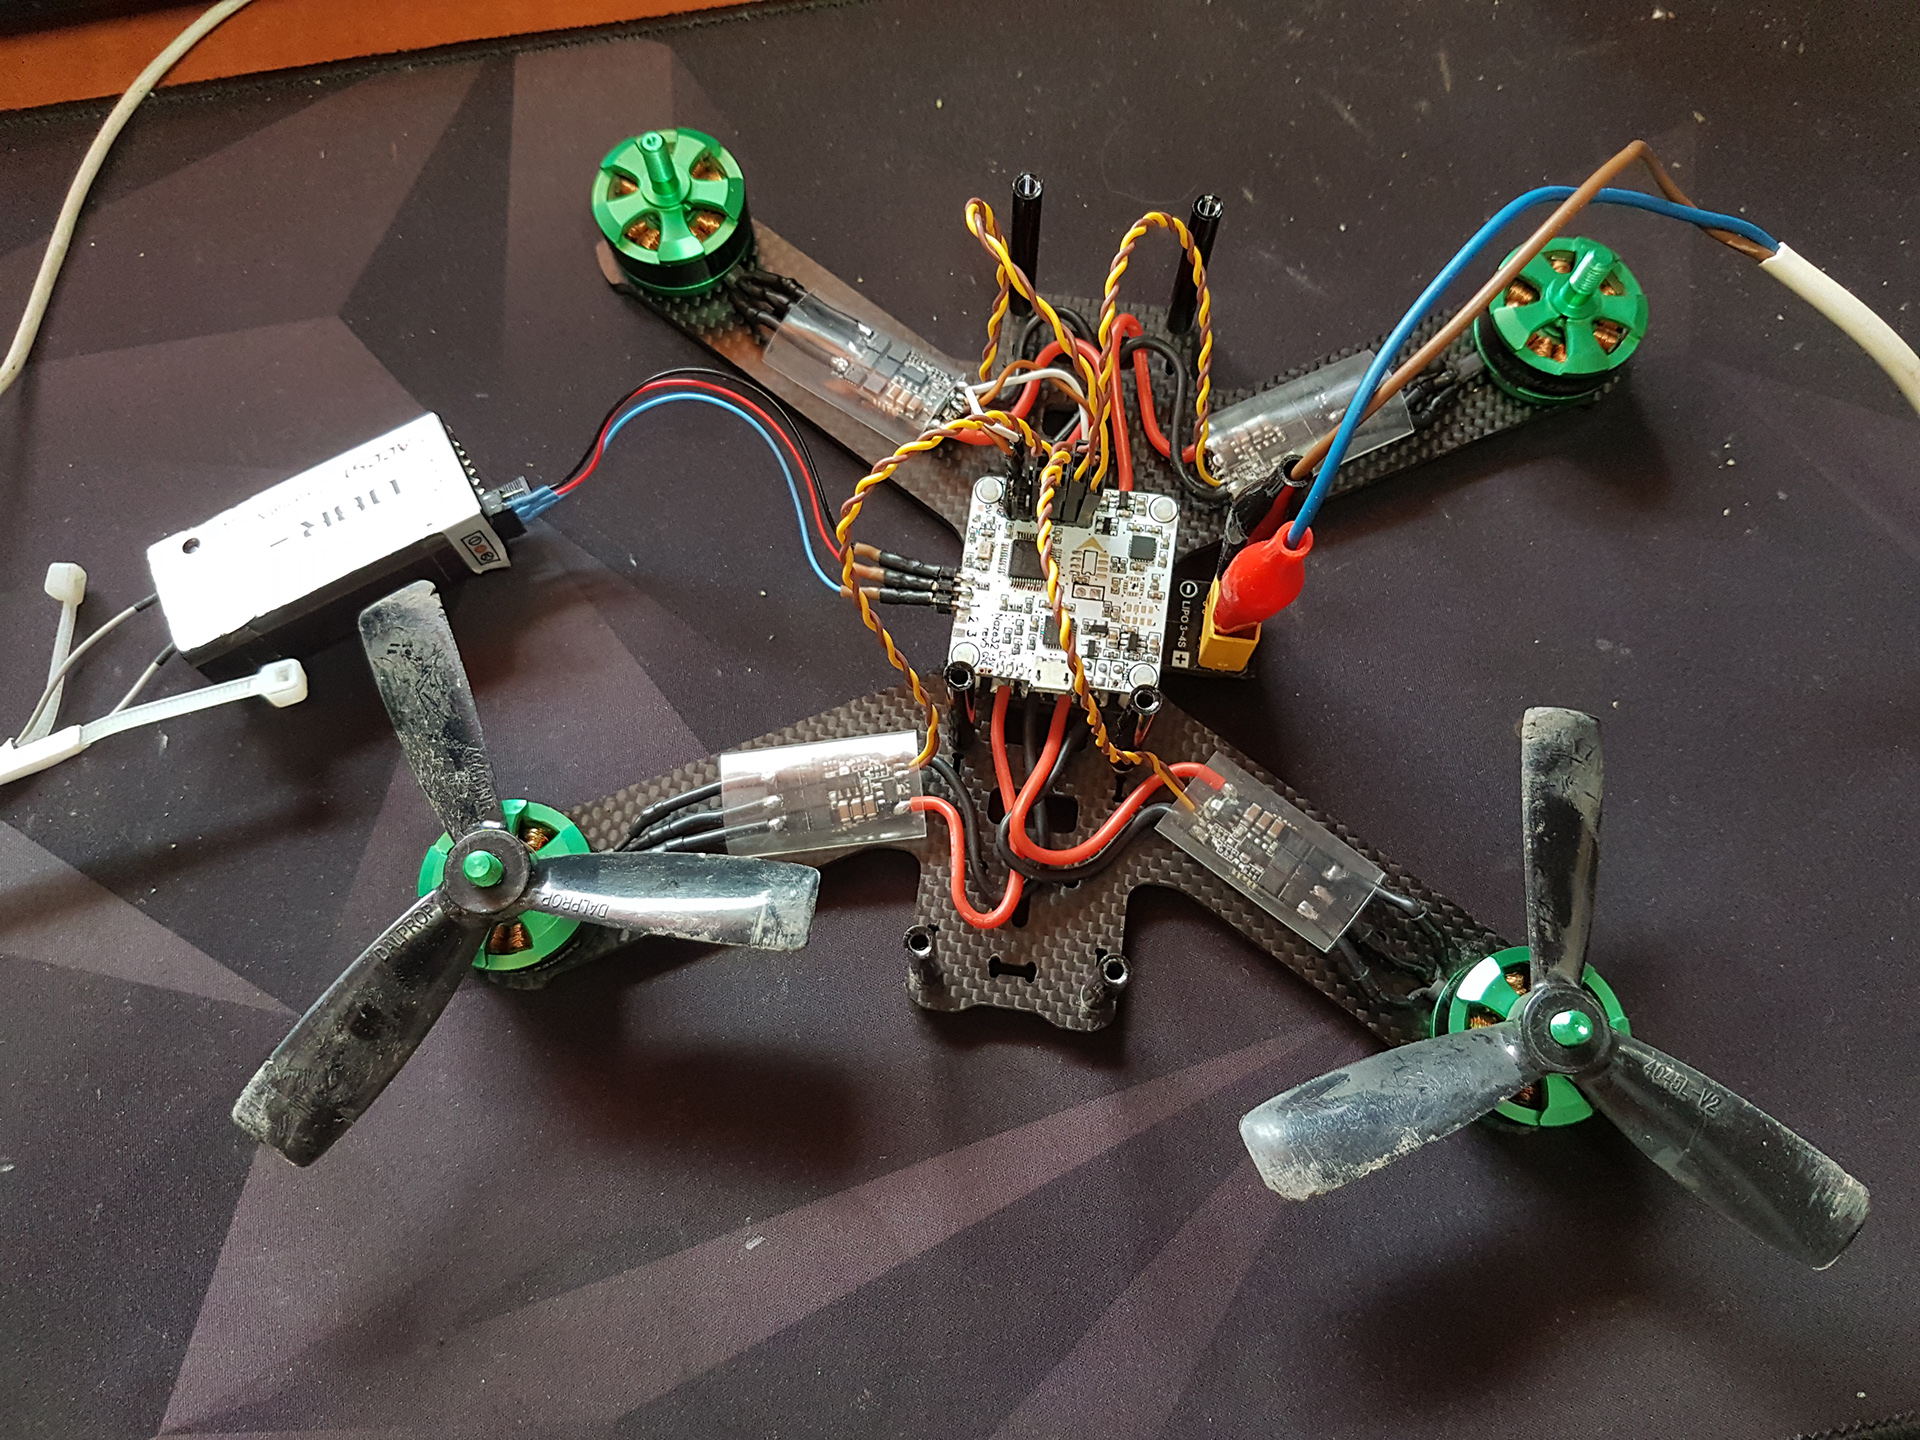
After the assembly was completed I plugged the flight controller to the PC via USB and run Betaflight Configurator. It turned out that one of the ESCs (Electronic Speed Controller) is dead. I actually had a spare one, which was working either. I was unpatient and wanted to fly so badly that I bought 4 new ESCs. The upside is the new ones are smaller and lighter. So I installed them:
At this point I pretty much had a functional flying machine. I even cut myself trying to start it. It turns out you actually do want to stay away from spinning blades and you also do want to configure your failsafe options. Do it – so you dont injure yourself. My previous experience with drones was using a toy quad that could easily be stopped with a finger. In this case you dont want any part of your body near while it’s operating.
Now – I knew that motors on a quad spin in different directions. Once you open a Betaflight Configurator you cann se a diagram of a typical setup:
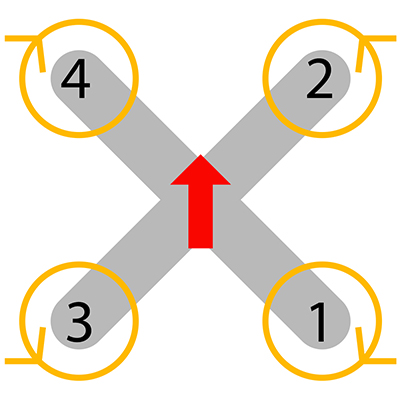
The motors I got have threaded shafts. This means that if you install then ‘backwards’ the cap may get loosened over time (motor spinning clockwise have reversed threading, whereas motor spinning counterclokwise have normally threaded shafts)
The setup I’ve got will only spin every motor in a single direction. The obvious way for me to change the dircetion if needed was to swap any two of their three wires. I think it’s also obvious at this point that props are also directional and need to be installed on the correct motors.
Only one and crucial thing to do, when it comes to what is installed on the frame: the quad needs eyes – or one eye to be exact:
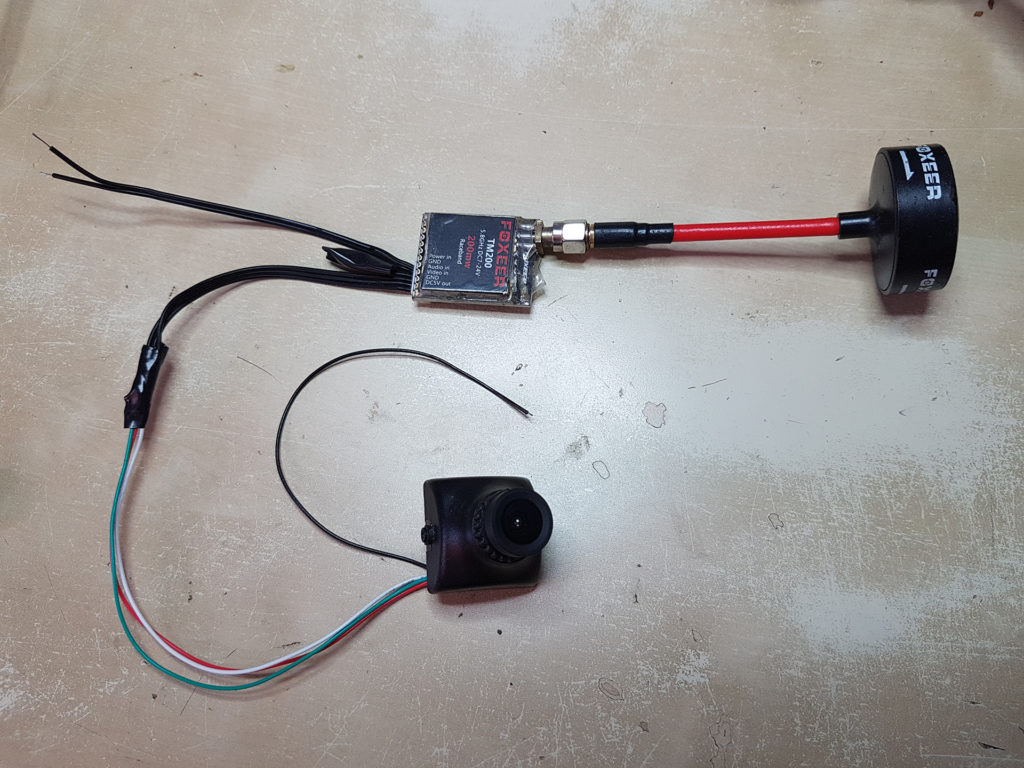
This is pretty much a ‘separate thing’ from the rest of the electronics. What I mean is you can only connect it to 5V power rail and it’s done – it will just transmit video on a selected channel (only later I found out about OSD – On Screen Display, but lets leave it for now).
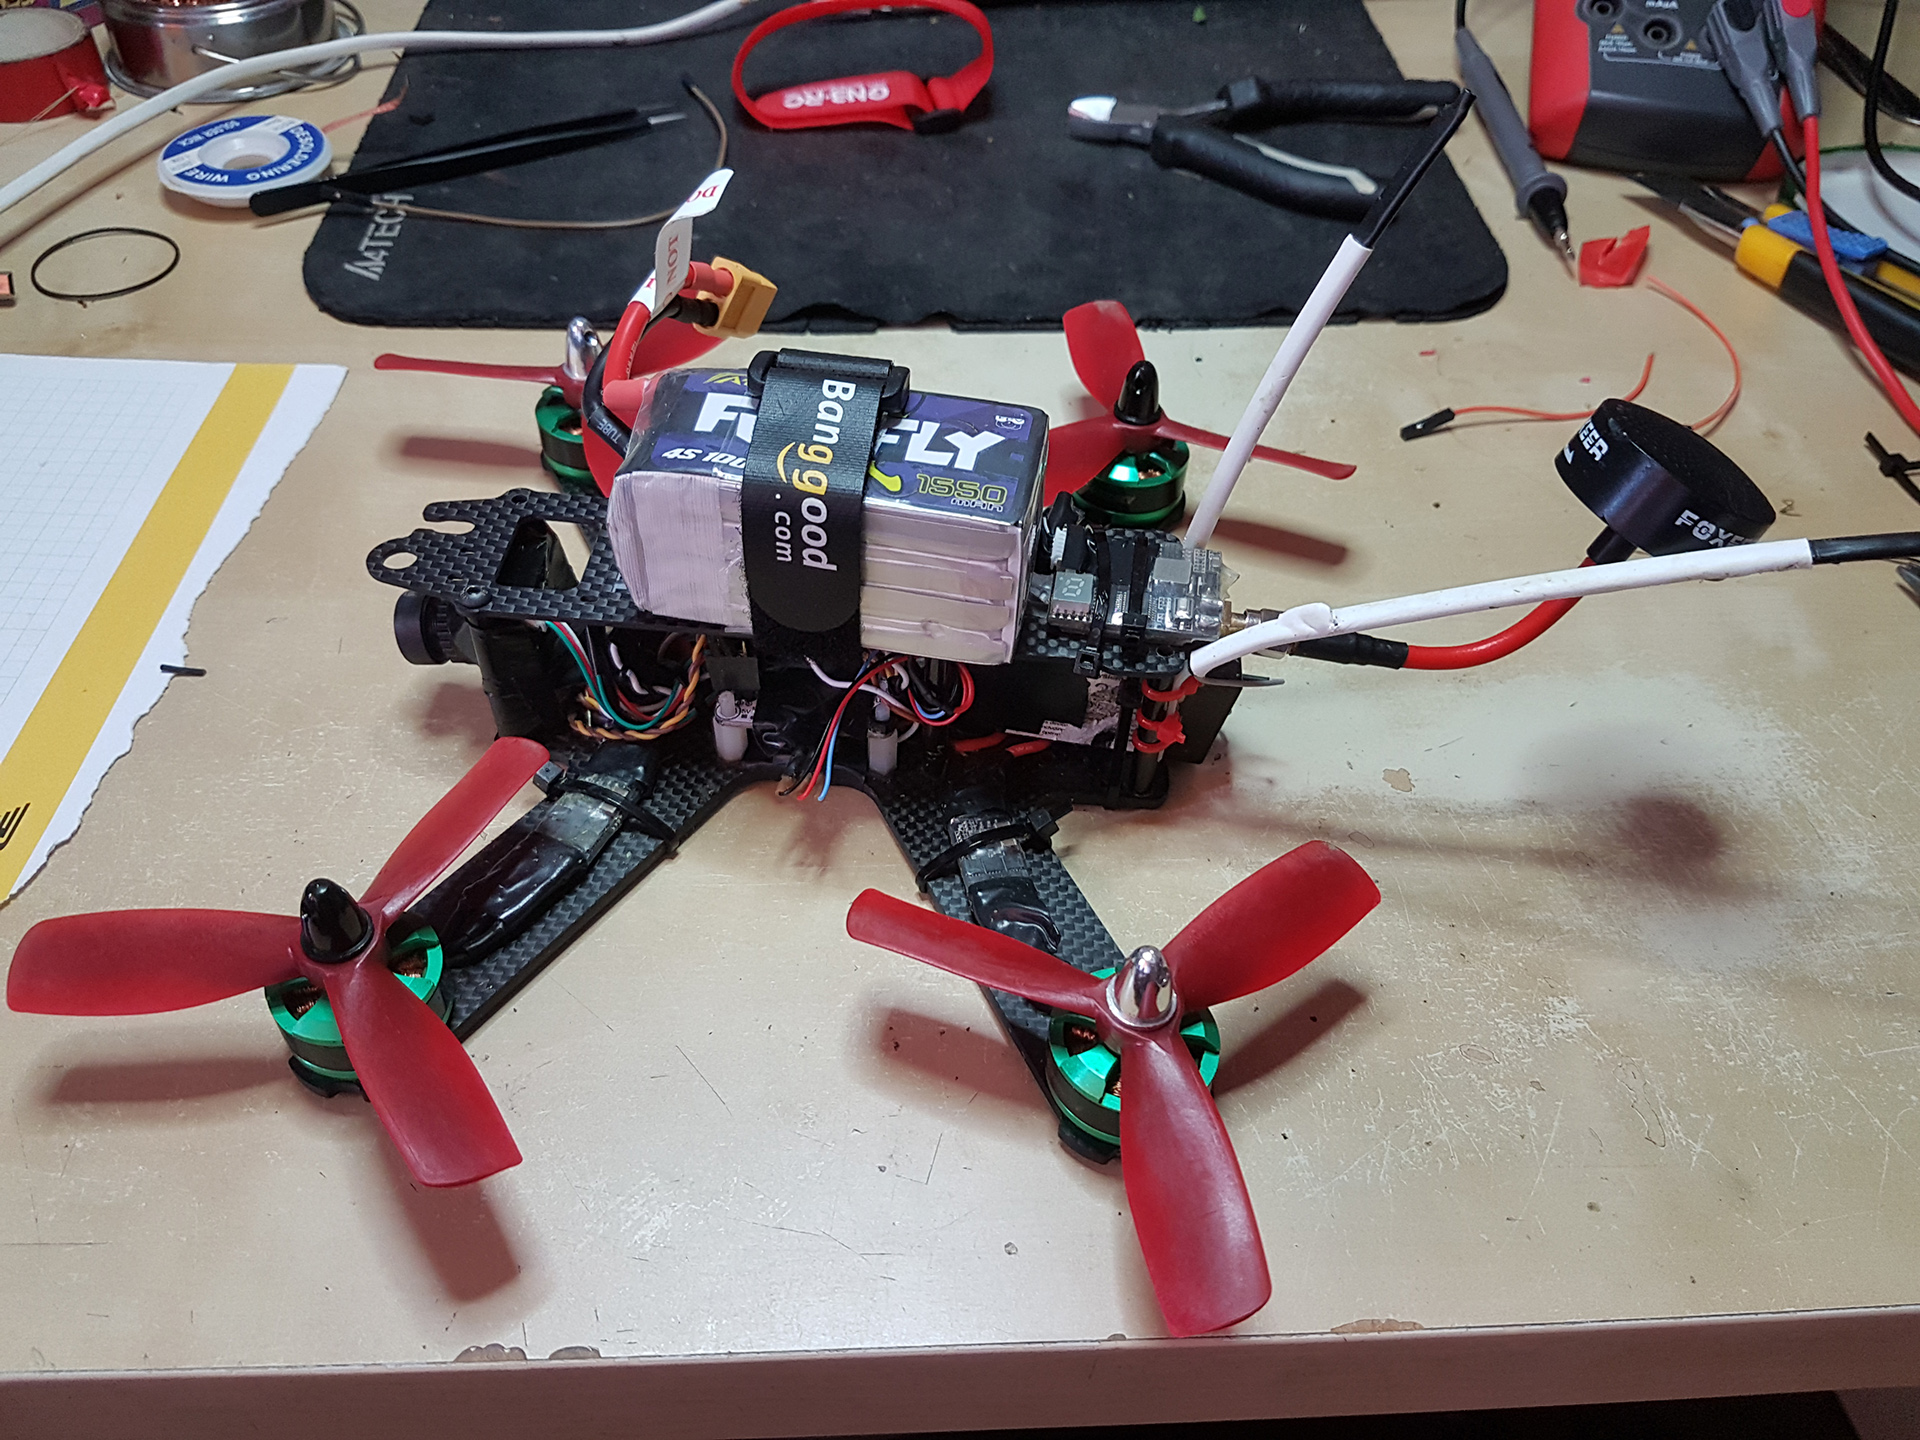
The mini challenge here now was to fit it all on the frame, keeping in mind that there’s gonna also be a battery, which is not the tiniest one. For the first tries I just tried to actually include all components and stay outside the reach of propellers. This is how it turned out:
Luckily the radio was already more or less set up, so I only had to get to know important settings in Betaflight and check everything is configured properly. You might wanna pay attention to:
- Failsafe – what happens when you lose radio signal. Imagine your radio suddenly dies on you with your quad in the air. If it’s not programmed to react it may simply fly away never to be seen again.
- Arming – In order to fly a quad it must get armed first. In order to arm it specific requirements must be met. I configured mine to be a combination of two switches on the radio in particular positions.
- Motor limits – being a beginner its probably a good idea to place some limits on how much power you have available. The acceleration and agility of these machines is terryfingly awesome ^^,
There is still much more to say about setting up a quad, and that’s not even counting things I do not yet know are even a thing xD
Let’s learn to fly it and build more!